Arches National Park looks straightforward on a map, one main road, a handful of big-name stops, and red rock in every direction. The map gets harder once you’re there. Parking lots fill, the sun gets brutal, and a trail that looks “quick” can eat an hour. A first visit goes much better with a clear route in mind before you reach the entrance.
The good news for 2026: timed-entry reservations are not required. The pilot program that ran the previous two summers has been dropped for this year, so you can drive in any time the park is open.
Before you go
- Entrance fee: $30 per vehicle for 7 days. Motorcycles $25, per-person $15. America the Beautiful annual pass works
- Timed-entry reservations: NOT required in 2026 (per the February 2026 NPS announcement)
- Park hours: open 24/7 year-round
- Cell service: spotty inside the park. Download maps before you go
- Gateway town: Moab, about 5 miles south of the entrance, with most lodging and dining
- Best season: spring (April-May) and fall (September-October). Summer days run 95-105°F
- Water: NPS recommends a gallon per person per day in summer; trails have almost no shade
The park’s layout
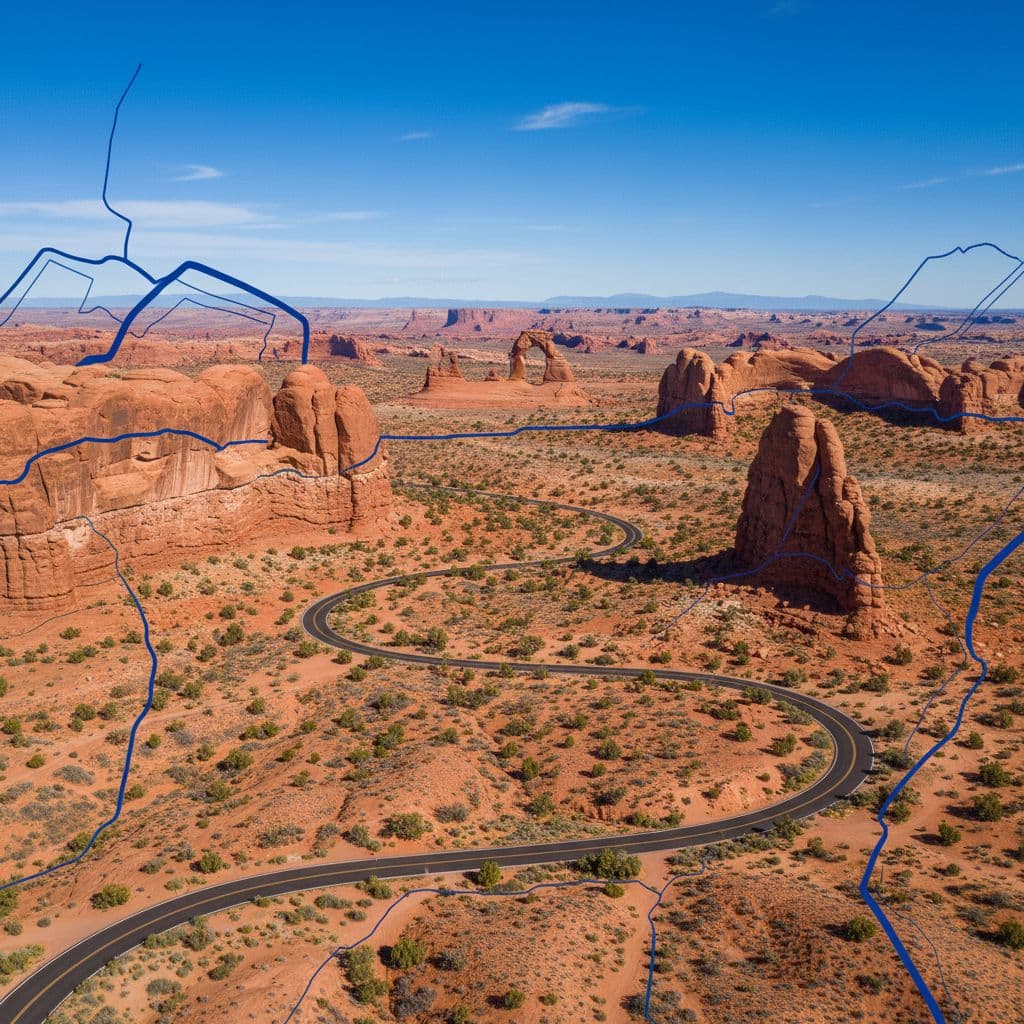
Arches has one main road, the 18-mile paved scenic drive, with named stops branching off it. Reading the map well means understanding which stops cluster together and which are drive-up versus walk-in.
Driving south to north, the major stops are:
- Park Avenue — 2 mi one-way (or shorter overlook view); short canyon walk between tall sandstone walls. First major stop after the entrance
- Courthouse Towers and La Sal Mountains Viewpoint — drive-up overlooks
- Balanced Rock — 0.3 mi paved loop; one of the easiest scenic stops
- The Windows Section — short trails to North Window, South Window, Turret Arch, and Double Arch. Most can be done in 30-60 minutes
- Delicate Arch — both the viewpoint (drive-up) and the trailhead are on this road. The trail is 3 mi RT, ~480 ft gain, moderate-to-strenuous, with no shade
- Fiery Furnace — visible viewpoint; the maze of fins requires either a ranger-led tour or a self-guided permit (limited and competitive)
- Sand Dune Arch and Broken Arch — 1.5 mi loop; sand walks suitable for kids
- Devils Garden — northern endpoint. Trailhead for Landscape Arch (1.6 mi RT) and the longer Devils Garden Primitive Loop (7.9 mi RT)
The stops worth marking first
| Stop | What it is | Best time of day |
|---|---|---|
| Delicate Arch (trail) | 3 mi RT, ~480 ft gain; the iconic arch hike | Sunrise or 1-2 hours before sunset (sunset is most crowded) |
| Delicate Arch Viewpoint | Drive-up + short walk to a distant view | Any time; useful if the trail isn’t feasible |
| The Windows Section | Cluster of short walks to four arches | Mid-morning, golden hour |
| Landscape Arch | 1.6 mi RT through Devils Garden; the longest natural arch in North America at 306 ft | Morning before the heat builds |
| Balanced Rock | 0.3 mi paved loop | Quick stop anytime |
| Park Avenue | 2 mi one-way canyon walk | Morning or late afternoon for shadow contrast |
If you only have one big hike to choose, the trail to Delicate Arch is the standard pick. The sunrise version is one of the iconic photos of the American West, and it’s quieter than the heavily-attended sunset crowd.
A first-visit route
A route that works for most first-time visits:
- Start at the Delicate Arch trailhead before sunrise (or by 7am at the latest). The lot fills, the trail offers no shade, and morning is the best light
- After the hike, stop at Balanced Rock and the Windows Section. Both are quick, and parking is much easier mid-morning
- Drive north to Devils Garden; walk to Landscape Arch (1.6 mi RT) and turn around. Extend to Double O Arch or the Primitive Loop if you have energy
- Stop at Park Avenue on the drive out for late-afternoon light
For a more detailed route, see the one-day hiking itinerary for Arches. For an Arches-specific trail roundup, see the best hikes in Arches.
What changes in spring and summer
Spring is one of the busiest seasons. Entrance lines can stretch back to Highway 191 on April and May weekends. Arrive before 8am or after 4pm to avoid the worst of it.
Summer adds heat to the crowd problem. Trails are mostly exposed, and the temperature inside the park can run 5-10°F hotter than in Moab because of the red-rock thermal effect. Hike at dawn or dusk; spend the middle of the day driving, eating, or in air conditioning.
Some side roads, like the Salt Valley Road or the Tower Arch road, are unpaved and can close after rain. The main scenic drive is paved the whole way and handles any vehicle.
Where to stay
- Moab — 5 miles south, the standard base with the most lodging and food. Book ahead for spring and fall
- Devils Garden Campground — the only campground inside the park, ~50 sites, reservations open six months ahead on recreation.gov
- Dispersed camping or BLM land near Moab — for self-contained travelers; the Arches dispersed camping guide covers options
Pairing Arches with nearby parks
Arches sits in the heart of Utah’s Mighty 5. The natural next stops:
- Canyonlands National Park — 30 minutes south of Moab, the same gateway town. Easy add to any Arches trip
- Capitol Reef — ~2.5 hours west, the quietest Mighty 5 park
- Bryce Canyon — ~5 hours southwest
- Best hikes in Utah covers the broader state list
Frequently asked questions
Do I need a timed-entry reservation for Arches in 2026?
No. NPS announced in February 2026 that timed-entry reservations have been dropped for the 2026 season. A standard $30/vehicle entrance pass is all that’s required. The park is still busy, so early arrival still matters.
How much does Arches cost to enter?
$30 per vehicle for a 7-day pass. Motorcycles $25, per-person entry $15. America the Beautiful annual pass works.
What’s the best Arches hike for a first visit?
The Delicate Arch trail. 3 miles round-trip, about 480 feet of elevation gain, no shade. Sunrise is the best light and the smallest crowd. The arch is bigger and more impressive in person than photos suggest.
Can I see Delicate Arch without doing the full hike?
Yes. Drive to the Delicate Arch Viewpoint (separate parking from the trailhead). A short walk leads to a distant view of the arch from the canyon below. It’s not as dramatic as the close-up view at the end of the trail, but it works if mobility or heat make the full hike unrealistic.
How do I see Fiery Furnace?
Either join a ranger-led hike (book on recreation.gov; sells out fast in peak season) or obtain a self-guided permit. Wandering Fiery Furnace without a guide or permit isn’t allowed. The viewpoint pull-off is open to everyone and gives a good sense of the maze.
Is there parking at Devils Garden?
Yes, but the lot fills early. Arrive before 9am in peak season for the best chance of a spot. The lot is also next to the campground, so it’s busiest in the morning when campers are leaving and day-trippers are arriving simultaneously.
Where should I stay near Arches?
Moab is the gateway town, 5 miles south, with hotels, motels, B&Bs, and short-term rentals across all price points. The Moab hotels near Arches guide covers options. Inside the park, the Devils Garden Campground is the only option and books out six months ahead.