
For a first John Muir Trail thru-hike, I recommend hiking southbound, allowing about three weeks, and securing your permit before booking transportation. Your starting trailhead determines the permit you need, and your longest food carry determines much of the rest.
John Muir Trail planning gets easier when you settle those decisions in order, rather than building a perfect itinerary around a permit you don’t have. Start with a realistic season and direction, then connect your hiking days, resupply stops, and ride home.
Key Takeaways
- Allow roughly 18 to 22 days for the full route, plus transportation and acclimatization time.
- Apply for permits about six months ahead, with flexible dates and a cancellation backup.
- Plan food carries around an approved bear canister, especially south of Muir Trail Ranch.
- Choose manageable mileage over squeezing every scenic detour into your trip.
Choose Your Direction and Hiking Season
Southbound is my recommendation for most beginners
Southbound (SOBO) hikers start in Yosemite and finish at Whitney Portal. Starting lower gives you more time to adjust before reaching the southern Sierra’s highest passes.
Happy Isles delivers the classic Yosemite Valley start, including waterfalls and a substantial opening climb. Lyell Canyon starts near Tuolumne Meadows, skips roughly 20 miles, and offers a gentler introduction through beautiful meadow country. You’ll miss the Valley section, but it’s a worthwhile trade-off if acclimatization or available time matters more. When comparing your entry options, weigh the Happy Isles trailhead’s full Valley opening against Lyell Canyon’s gentler start.
Northbound (NOBO) hikers starting at Whitney Portal face roughly 6,100 feet of climbing to Whitney’s summit early in the trip. Horseshoe Meadow offers another southern approach, although it adds access mileage and doesn’t follow the complete standard route.
Aim for mid-July through early September
For typical backpacking conditions, mid-July through early September is the practical window. August is my starting recommendation for beginners, although snow conditions vary each season.
Earlier departures can involve steep snow, difficult creek crossings, and slower travel. Check current snow at high passes before choosing an early start. Microspikes and an ice axe don’t replace training in their use.
July and August bring mosquitoes. Later starts bring colder nights, shorter days, and possible early storms. Wildfire smoke can affect summer and fall trips, too. Yosemite Valley’s comfortable weather doesn’t tell you much about conditions above 11,000 feet.
Get the Right John Muir Trail Permit
Apply through your starting land manager
Your entry trailhead determines which land manager issues your permit. One permit generally covers a continuous JMT trip across jurisdiction boundaries. Southbound Yosemite starts need a Yosemite wilderness permit. Northbound starts need the appropriate Inyo National Forest permit, including a Mount Whitney overnight permit when entering at Whitney Portal.
Yosemite’s advance permit lottery runs 24 weeks before departure, roughly six months ahead. Here’s the practical sequence:
- Open the Yosemite wilderness permit application and choose your entry date, group size, and eligible trailhead.
- Select Happy Isles past Little Yosemite Valley or Lyell Canyon, explicitly marked Donohue Pass eligible.
- Include multiple workable choices, then accept and pay for a successful reservation within its deadline.
Yosemite limits Donohue Pass exits to 45 hikers daily. The published allocation is 15 Happy Isles and 30 Lyell Canyon places. Its wilderness reservation rules list a $10 application fee and $5 per person for successful reservations.
Keep a realistic backup
NPS has historically reported rejecting about 97% of JMT permit applications. Treat that as evidence of demand, not your personal lottery odds.
Yosemite releases 60% of capacity through the advance system and 40% seven days before departure. Cancellations provide another opening. Flexible dates and a smaller group help, but only apply for trips you’d genuinely take.
Whitney Portal uses a separate lottery rather than Yosemite’s rolling schedule. My Mount Whitney permit guide covers that process and alternatives. Don’t substitute a different Yosemite trailhead unless its permit authorizes your intended Donohue Pass exit.
Build Your Itinerary Around Sections, Not Daily Targets
The JMT covers about 211 miles between Yosemite Valley and Mount Whitney, plus another 10 to 11 miles down to Whitney Portal. Expect roughly 47,000 feet of elevation gain and eight major passes, including 13,153-foot Forester Pass.
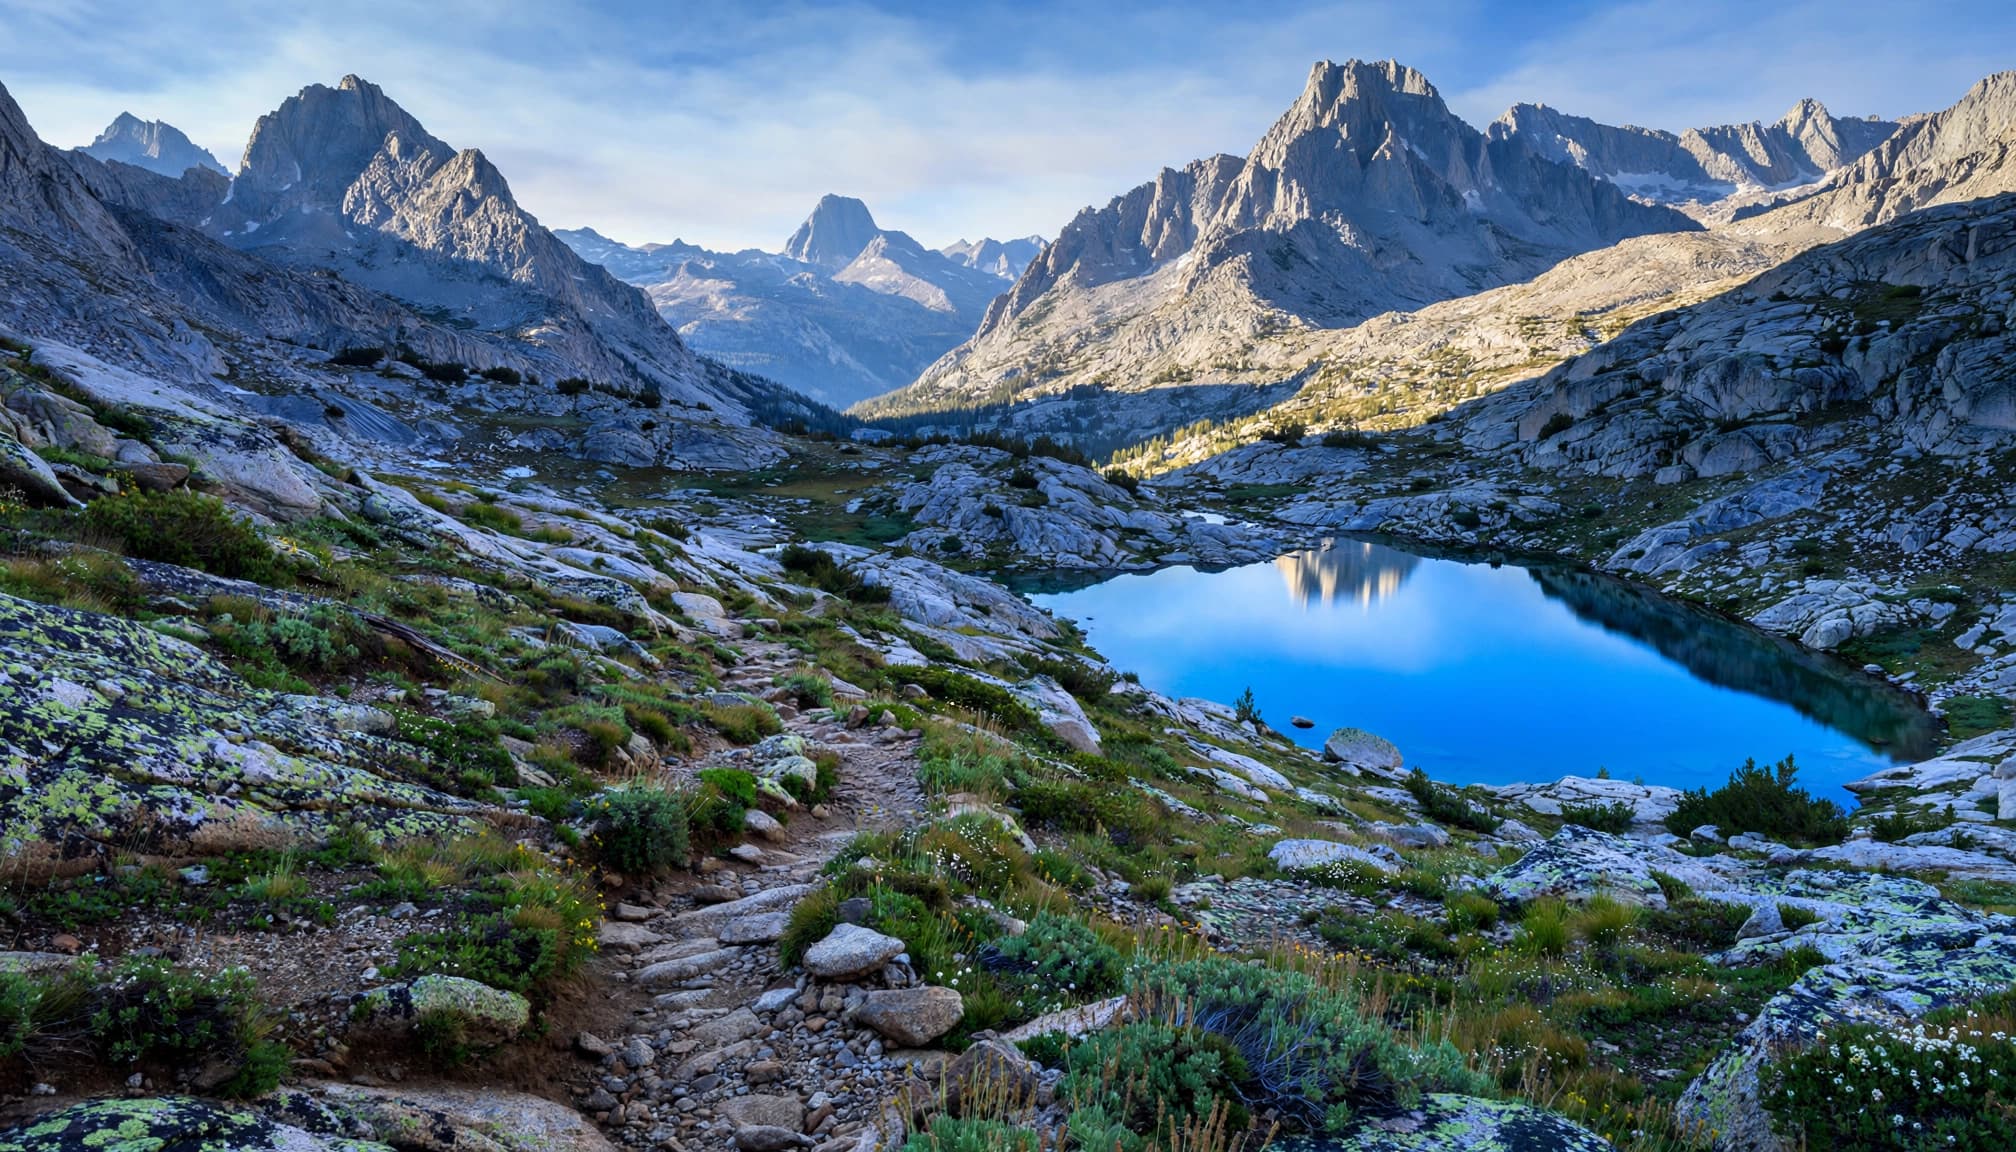
These approximate sections help organize a three-week trip.
| Section | Approximate distance | Suggested hiking time |
|---|---|---|
| Happy Isles to Tuolumne Meadows | 22 miles | 2 to 3 days |
| Tuolumne Meadows to Red’s Meadow | 35 miles | 3 days |
| Red’s Meadow to Muir Trail Ranch | 50 to 55 miles | 4 to 5 days |
| Muir Trail Ranch to Whitney Portal | About 117 miles | 10 to 11 days |
The final stretch needs the most attention because convenient resupply disappears. Side trails, campsite choices, and resupply access explain differences between mileage totals.
Most hikers need 18 to 22 days, averaging around 10 to 12 miles daily. Begin conservatively and leave room for weather, sore feet, and resupply delays.
Place camps around passes rather than forcing equal-mileage days. Crossing exposed passes early reduces afternoon thunderstorm exposure, but never cross into unsafe weather to keep a schedule.
Plan Food and Resupply Before Finalizing Mileage
Budget about 2 to 2.5 pounds of food per person daily, often providing 3,000 to 4,000 calories. Your needs depend on body size, pace, and food choices. Test a full day’s menu during training.
Most hikers prefer carrying no more than about a week. At those weights, seven days means 14 to 17.5 pounds of food before adding the canister.
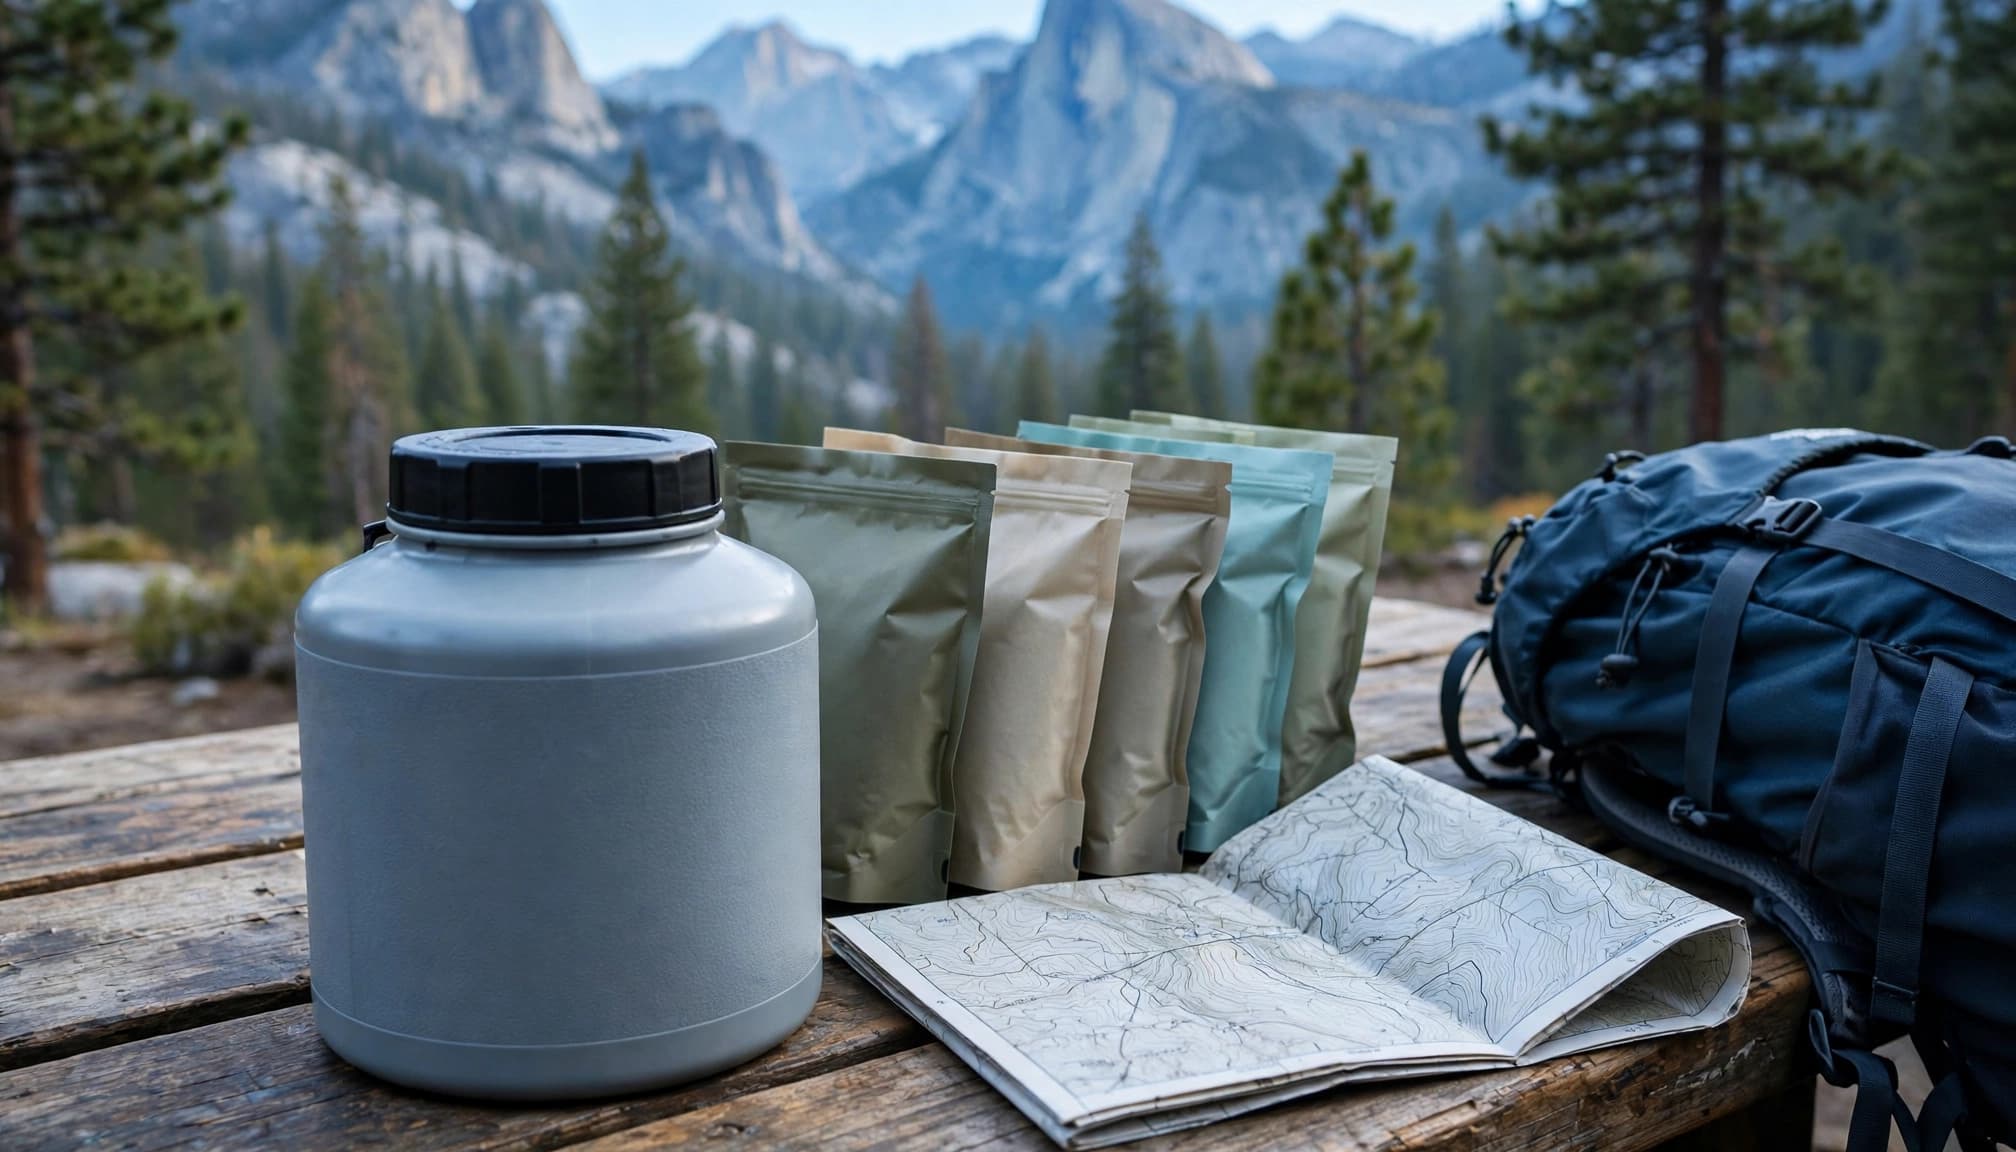
These are the main resupply options, listed north to south.
| Stop | Main planning trade-off |
|---|---|
| Tuolumne Meadows | Early pickup; seasonal services determine usefulness |
| Red’s Meadow | Convenient northern resupply, with advance mailing logistics |
| Vermilion Valley Resort | Roughly 12 miles round trip on foot, or a seasonal ferry connection |
| Muir Trail Ranch | Important mailed resupply before the long southern section |
| Onion Valley and Independence | Roughly 15 extra hiking miles via Kearsarge Pass, plus town transportation |
Choose stops for manageable food carries, not simply because they’re available.
For mailed resupplies at Red’s Meadow and Muir Trail Ranch, package your planned meals well ahead. Allow at least two weeks before starting, with additional lead time where shipping and pickup dates require it. Their container, addressing, handling-fee, and seasonal acceptance requirements differ.
Organize meals by hiking day. A shipping bucket isn’t automatically an approved overnight food container.
The roughly 117-mile Muir Trail Ranch to Whitney Portal stretch can exceed a week at beginner pace. An additional southern pickup through Onion Valley is often the sensible solution.
Seven days of food is only a workable plan if it fits inside your canister alongside trash and scented toiletries.
Pack for Altitude, Bears, and Cold Nights
Test your bear canister before departure
- Carry an approved hard-sided bear canister for food, trash, and scented items. Ursacks and odor-resistant Opsacks don’t replace the required container. Rangers can inspect storage during permit checks.
- Follow the NPS guidance for JMT hikers on Yosemite’s food-storage requirements. Keep snacks attended outside the canister, and never leave food in your tent.
- Test your pack with your longest food carry. Leave room for toothpaste, sunscreen, and wrappers, not just dinners. Repackage bulky food, but keep cooking instructions accessible.
Prioritize reliable systems over a lighter-looking gear list
- Pack shelter, a sleep system suited to freezing nights, rain protection, insulation, sun protection, water treatment, and blister care.
- Download offline navigation and carry a paper backup. A satellite messenger adds a useful safety margin where cell service disappears.
- Treat natural water and carry enough capacity for dry stretches. Plan WAG bags for the Mount Whitney area, where you must pack out human waste.
- Use established campsites and stay 200 feet from water and trails wherever terrain allows. Local restrictions can be stricter.
- Don’t assume fires are legal below 10,000 feet. Elevation limits vary, and seasonal bans can prohibit fires at lower elevations. I’d plan the entire trip without a campfire.
Solve Transportation Before Booking the Rest
The JMT is one-way, and the finish isn’t conveniently connected to the start.
With two vehicles, leave one at the finish using authorized long-term parking. Remove food and scented items rather than leaving them inside for three weeks.
A public-transit plan generally combines Eastern Sierra Transit along Highway 395 with seasonal YARTS connections toward Yosemite. These are separate services, so allow connection time and avoid a tight flight immediately after finishing.
Whitney Portal still requires a separate ride to Lone Pine. Arrange that transfer in advance; hitchhiking is an uncertain backup. The Lone Pine Chamber of Commerce is a local contact for transportation information, rather than a guaranteed ride provider.
John Muir Trail Planning FAQs
Is the JMT suitable for beginner backpackers?
It’s a reasonable goal for developing backpackers, but I wouldn’t make it your first overnight trip. Complete several loaded training hikes and a multi-night shakedown first.
You should be comfortable treating water, managing blisters, storing food, and making weather decisions without cell service. Practice consecutive hiking days with your actual starting pack weight.
What’s the hardest part of the trail?
The combination of altitude, repeated climbing, and food weight usually matters more than any single pass. The southern section puts those challenges together.
Recognize altitude sickness early: a persistent headache, nausea, or unusual exhaustion at altitude deserves attention. Worsening symptoms call for descent, not pushing higher to preserve the itinerary.
Do Half Dome and Mount Whitney add extra mileage?
Half Dome adds roughly 4 miles to a compatible Yosemite itinerary and requires additional authorization.
Whitney’s summit spur is roughly 4 miles round trip from the trail junction. However, the standard 211-mile JMT distance already includes reaching the summit. Don’t add that spur twice when calculating the complete route.
Does my permit reserve each campsite?
Your Yosemite permit controls your entry date and trailhead, but generally doesn’t reserve individual wilderness campsites. Your first-night restrictions and local camping rules still apply.
The Yosemite wilderness permit FAQ explains how the authorization works. Build alternative legal stopping points into your itinerary rather than relying on one lakeside spot.
Build a Trip You Can Comfortably Finish
A good JMT plan connects your permit, food capacity, and daily pace. Get those working together before adding ambitious detours or shortening the schedule.
I’d rather see you enjoy three manageable weeks than struggle through someone else’s faster itinerary. Secure a workable start, test your loaded pack, and give yourself room for the mountains to change your plans.

The point about starting lower to acclimate before the southern passes matches my experience — those first few days out of the valley make a noticeable difference once you hit Forester and Glen. I learned the hard way that rushing the permit decision before locking in resupply logistics just creates extra work.
Angka 97% aplikasi permit yang ditolak itu bikin kaget sih, jadi kebayang betapa ketatnya lotre Yosemite. Bagian 117 mil terakhir dari Muir Trail Ranch ke Whitney Portal juga ngeri-ngeri sedap, bawa makanan seminggu penuh di bear canister pasti berat banget. Untung dibaca dulu sebelum nekat.