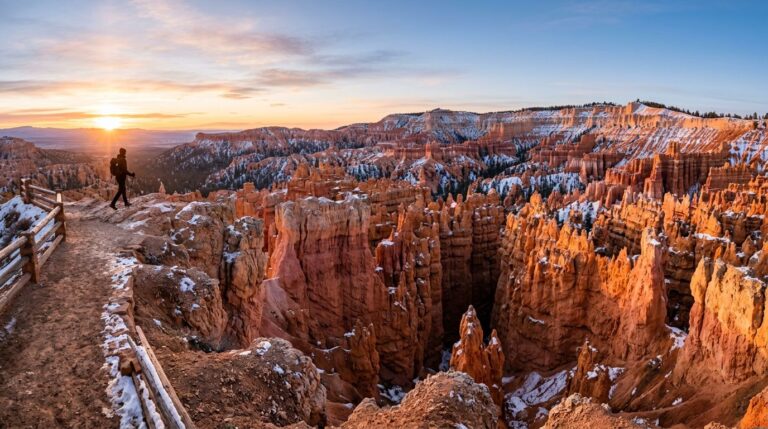
You don’t need to commit to thru-hiking all 165 miles of the Tahoe Rim Trail to enjoy what draws hikers here. Short routes offer panoramic views of Lake Tahoe and the Sierra Nevada from high above the shoreline. Access points range from Tahoe City to other parts of the basin, with options compared by scenery and practical difficulty.
Start with a short out-and-back near a reliable trailhead, then work up from there. Tahoe’s altitude, afternoon weather, and summer parking can turn an easy-looking plan into a long day if you don’t plan ahead.
Key Takeaways
- The Tahoe Rim Trail spans 165 miles across eight major segments. For a day hike, choose a manageable section instead of tackling a full segment.
- Picnic Rock Vista from Brockway Summit East is the easiest documented lake-view option, at 3 miles round trip.
- Spooner Summit offers a flexible Nevada-side starting point. Turn around whenever you’ve had your fill of climbing.
- The route’s highest point is Relay Peak at 10,338 feet. Take altitude seriously, even on shorter outings.
- Before departure, confirm current Desolation Wilderness day-use requirements, fire restrictions, and access rules with the responsible land manager.
- If possible, hike early. You’ll get cooler temperatures, calmer trails, and a better chance at easy parking.
Start Small on a 165-Mile Trail
The Tahoe Rim Trail is built for backpackers and thru-hiking, but it works well for day hikers who choose access points carefully. The official route circles Lake Tahoe through California and Nevada, crossing Sierra Nevada forests, ridges, alpine lakes, and remote high-country terrain.
You don’t need to finish a named segment to count the day as a win. Pick a destination, set a turnaround time, and hike back the way you came. For newer hikers, that simple plan is usually the sweet spot.
Use out-and-backs instead of full segments
The official trailhead-to-trailhead sections run roughly 12 to 33 miles. That’s useful for thru-hikers, but it isn’t a beginner day-hike menu.
Choose difficulty based on mileage, elevation gain, your turnaround point, and exposure to high altitude. A better move is hiking two to five miles out, stopping at a viewpoint, then returning. You’ll still walk the Tahoe Rim Trail, while leaving time and energy for lunch by the lake afterward.
Some multi-use sections may also see mountain bikers. Follow posted yielding rules, stay alert around blind corners, and give others room to pass.
Relay Peak is the high point
Relay Peak tops out at 10,338 feet, making it the highest point on the entire route. The view is a serious payoff, but this isn’t where I’d send someone for their first Tahoe hike.
High elevation can sneak up on sea-level visitors. Drink water before you feel thirsty, slow your pace early, and don’t try to push through a headache or nausea. Turning around is always the right call when your body says it’s done.
Best Lake-View Routes on the Tahoe Rim Trail
These routes are where I’d start if you want big scenery without building your whole vacation around logistics.
Picnic Rock Vista from Brockway Summit East
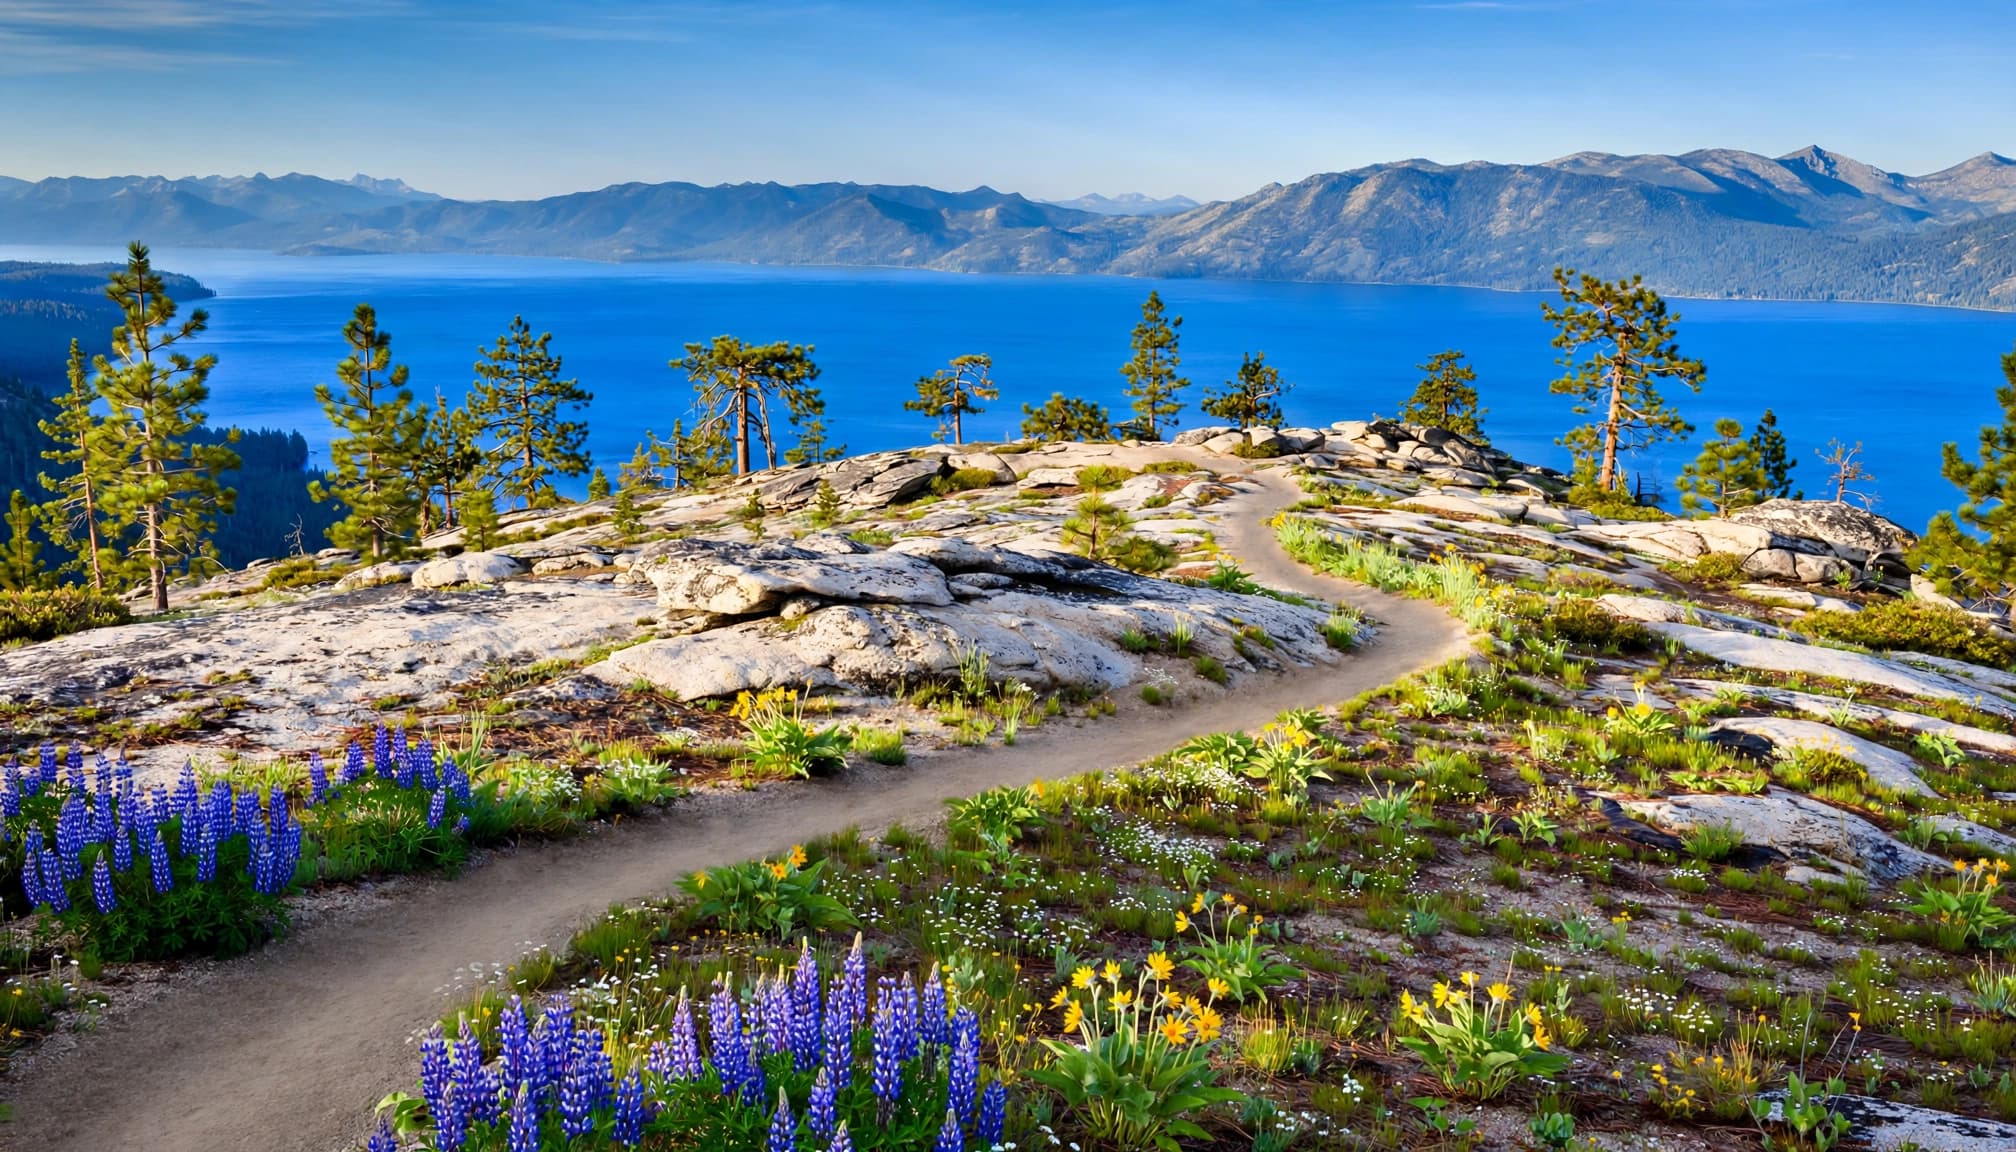
Picnic Rock Vista is the easiest clear recommendation on the trail. It starts at the Brockway Summit East trailhead and runs 3 miles round trip, with panoramic views over the Lake Tahoe Basin.
This is the one I’d choose for a first Tahoe Rim Trail experience, especially if you’re hiking with kids, easing into altitude, or only have a few hours. The view shows up quickly, which is exactly what I want from a beginner-friendly hike.
Before heading out, verify current elevation gain, trail surface, exposure, parking arrangements, bathroom availability, and any permit or fee requirements.
Spooner Summit for a flexible turnaround hike
Spooner Summit is a strong choice when you want options. The U.S. Forest Service rates the route from Spooner as intermediate, with views toward Lake Tahoe and Carson Valley. Parking is on the north side of Highway 50, just beyond the summit, but check current arrangements before you go.
Don’t feel obligated to chase a fixed mileage number here. Hike uphill at a comfortable pace, enjoy the openings in the forest, and turn around with plenty left in the tank. For a longer objective, continue toward Marlette Lake, but don’t treat that extension as beginner-friendly.
Barker Pass near Tahoe City is another seasonal, west-side access option. Verify road opening, parking, and current trail conditions before choosing it.
South Camp Vista, also called The Bench
Want a bigger challenge? The South Camp Vista Hike, often called The Bench, begins at Spooner South and covers 11.5 miles round trip. The route climbs above 8,000 feet and looks out across Lake Tahoe and the South Shore.
I wouldn’t call this an easy hike, but it’s a solid next step for hikers who have already handled moderate mileage at elevation. Bring more water than you think you’ll need, start early, and give yourself a firm turnaround time.
Mt. Rose Summit is another high-elevation access option, but it can be substantially harder than Picnic Rock Vista. Elevation, snow, exposure, and mileage can all change the difficulty.
For a higher-commitment alternative, consider Kingsbury South toward Star Lake only after checking the current route relationship. Verify current mileage and elevation before committing, and don’t assume this option is suitable for beginners.
A big Tahoe view feels better when you still have enough energy to enjoy it. Save your biggest mileage days for after you’ve adjusted to the elevation.
Trailhead Parking Without the Morning Stress
Popular trailheads offer easy access, but summer parking can fill quickly. Brockway Summit, Tahoe Meadows, and Spooner Summit are popular for good reason, and summer weekends can get busy early.
The low-stress move is boring, but it works: arrive early, park once, and start hiking before the hottest part of the day.
Popular access points may also bring together hikers and mountain bikers. Follow posted yielding rules and give other users room.
Have a Plan B before you leave
Don’t wait until you’re staring at a full lot to decide what happens next. Save a second trailhead in your map app and pack for a shorter route if the weather shifts.
If Brockway Summit doesn’t work out, a shorter lake-view outing can still save the day. The Monkey Rock hike near Incline Village is roughly 2.5 miles round trip and gives newer hikers a more manageable lake-view alternative.
A west-side alternative like Barker Pass may depend on the access road from Tahoe City. Before driving there, verify road closures, lot capacity, parking fees or permits, and seasonal restrictions.
Check the trailhead, not just the route
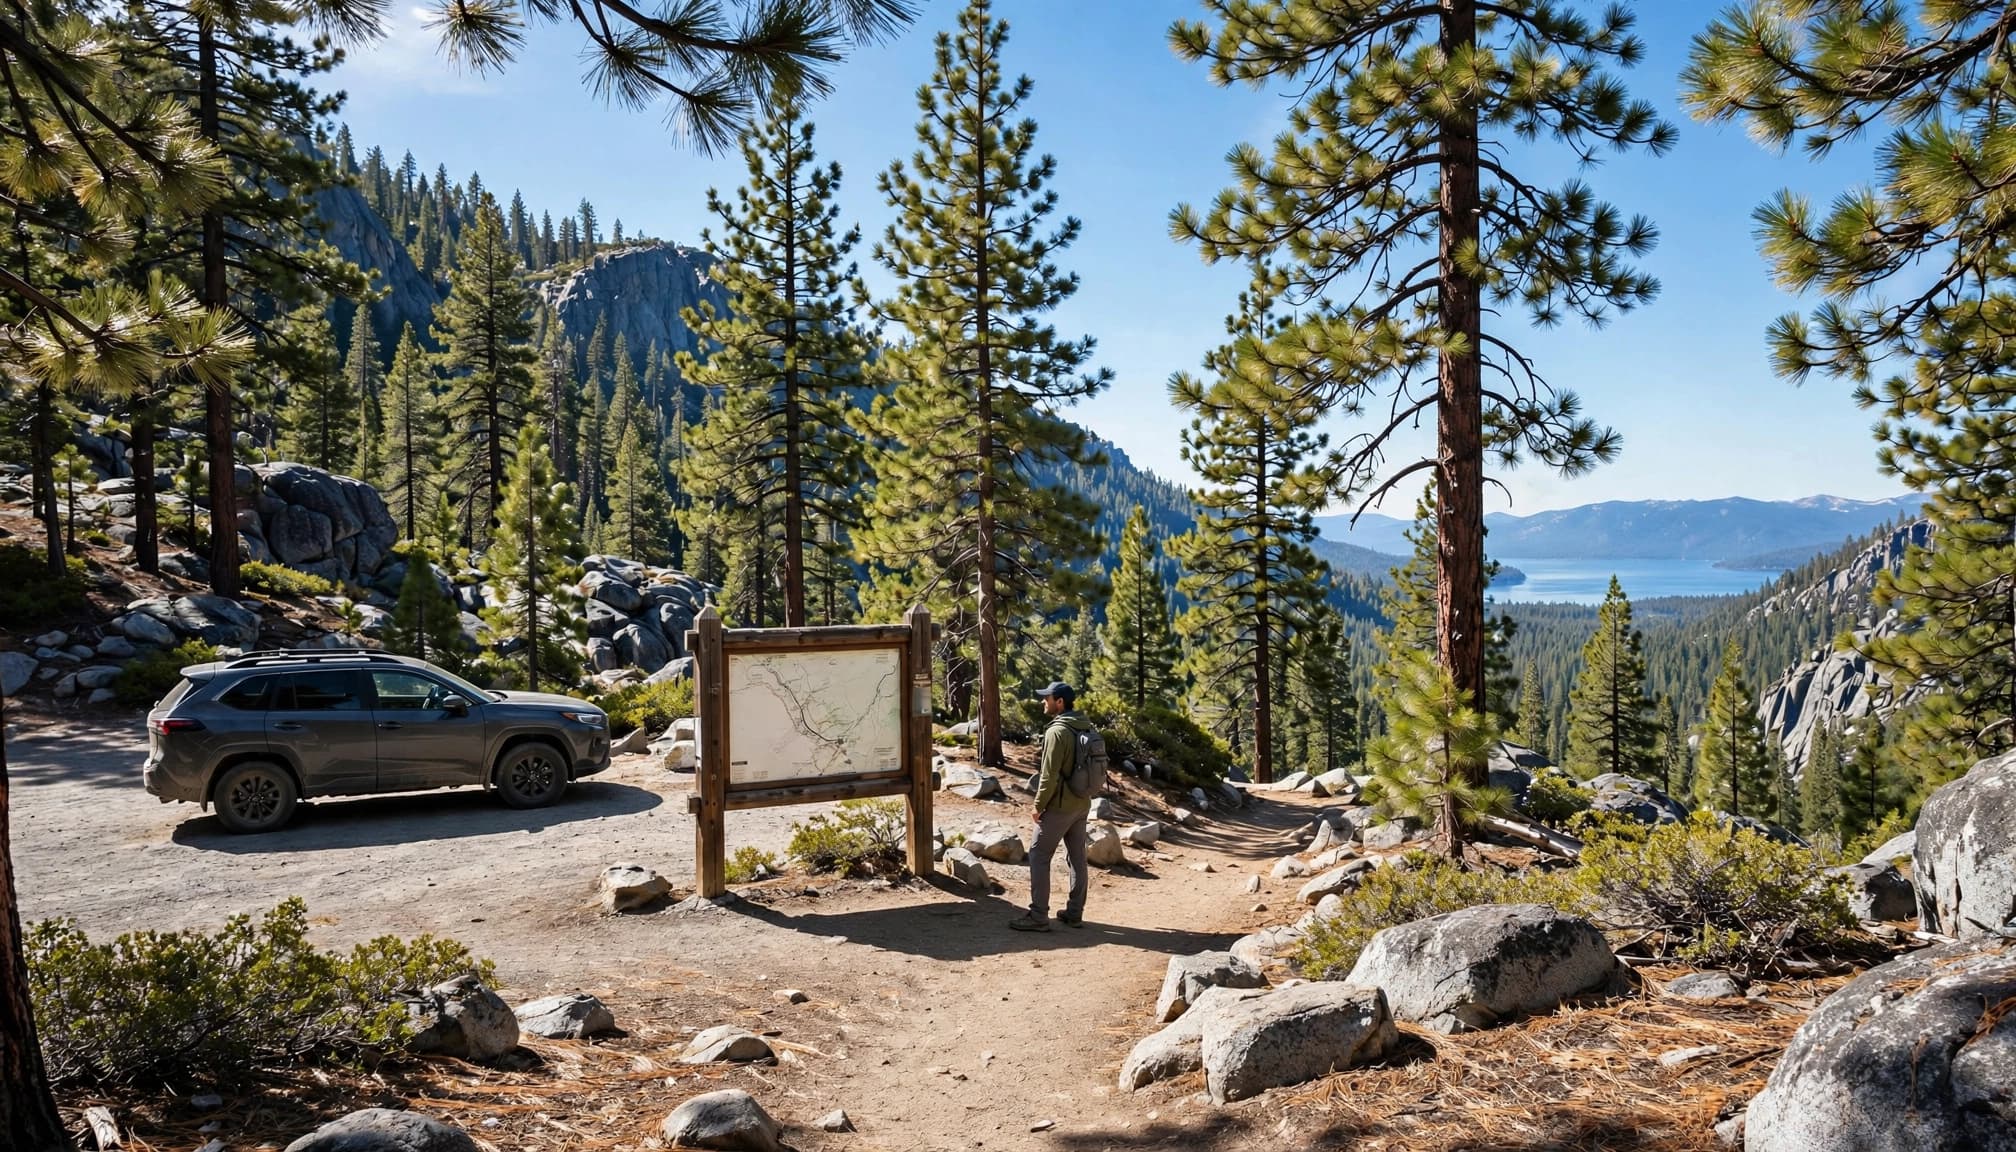
The official Tahoe Rim Trail maps and trail information should be your last stop before driving out. Check the exact trailhead location, current trail conditions, and access-road conditions.
Then confirm parking capacity, payment requirements, bathrooms or a lack of facilities, and seasonal restrictions. Use Tahoe Rim Trail Association, Forest Service, state, or local land-manager sources for current details.
Cell service can be inconsistent once you leave town. Download offline maps, screenshot key directions, and keep a backup route ready. Tell someone where you’re headed, too.
Permits, Fire Rules, and Trail Etiquette
Most short outings on the Tahoe Rim Trail don’t require a permit. The big exception is Desolation Wilderness, where the rules are stricter and the scenery is worth respecting.
Desolation Wilderness requires a day-use permit
If your route enters Desolation Wilderness, you’ll need a free, self-issued day-use permit from the trailhead. Overnight trips use a separate system with camping permits and quota limits.
That makes the Echo Lakes and Big Meadow side a little more involved than a quick hike from Brockway or Spooner. Bring a pen, fill out the permit correctly, and don’t assume another hiker’s plan applies to yours.
Campfires are off the table
Wood and charcoal campfires aren’t allowed along the Tahoe Rim Trail. A California Campfire Permit may be required for a gas or liquid-fuel stove, and temporary fire restrictions can tighten rules further.
Check the current Lake Tahoe fire restrictions and applicable land-manager permit pages before every trip. Don’t pack a stove because it was allowed last summer and assume the answer hasn’t changed.
Dogs, bikes, and water need section-by-section checks
Bike access can differ for mountain bikers, while dog rules may vary separately. Rules change by land manager and trail segment, so verify the exact route before bringing either one.
Water is another place to be conservative. East-side water sources may be unreliable or seasonal, so don’t assume they’ll be available. Carry your own water and check the latest trail map before heading out.
When to Hike the Tahoe Rim Trail
Late spring through early fall is the practical window for most short outings on the route. July through September is often the easiest time for snow-free high-country trails, but smoke and afternoon thunderstorms can still change your plans.
Early summer brings snow and wildflowers
June can be beautiful, especially when wildflowers appear across the Sierra Nevada. Lower-elevation routes may be ready first, while exposed high-country routes can still have lingering snow and mud.
Higher access points, including Mt. Rose Summit, may remain snowbound or difficult to reach. If you’re visiting early in the season, choose a lower-commitment out-and-back.
Microspikes may make sense when recent reports mention icy or packed snow. Check current trail conditions and road-access reports for snow, mud, ice, smoke, and thunderstorms before choosing a route.
Late summer is the easiest planning window
August and September are my favorite months for most first-time hikers. Trails are more likely to be clear, days are long, and the lake views are hard to beat.
Start early anyway. Summer sun feels stronger at elevation, and exposed ridges are not where you want to be when thunderstorms start building.
Build a Beginner-Friendly Tahoe Day
A great Tahoe hiking day doesn’t need two hard hikes and a packed itinerary. Pick one meaningful route, leave room for breaks, then enjoy the lake once you’re done.
Choose a payoff-early route
For your first trip, I’d choose Picnic Rock Vista or a short Spooner Summit out-and-back. Both make it easier to turn around if the altitude, heat, or trail conditions aren’t cooperating.
Save longer routes near Marlette Lake, Kingsbury South, Star Lake, or the wilderness corridor for a day when you’ve got more hiking experience and a current route plan. Check current trailhead access, parking, road conditions, mileage, and elevation gain first, since these routes may require more navigation, water planning, or exposure management.
Pack for the ridge, not the parking lot
Bring at least two liters of water per person for a moderate day, salty snacks, sun protection, a warm layer, rain protection, and an offline map. Tahoe mornings can feel cool, then turn hot and exposed fast.
The USFS Lake Tahoe hiking guidance is also worth checking on the morning of your hike for access and current recreation rules.
Final Thoughts
The best Tahoe day is rarely the longest one. Start with a shorter route that gives you panoramic views early, stay honest about elevation and weather, and leave yourself enough energy for the hike back.
A short section of the Tahoe Rim Trail can deliver the same blue-water, high-Sierra magic that draws people to the full loop.
Tahoe Rim Trail Day-Hike FAQ
How do you break the Tahoe Rim Trail into manageable day hikes?
Use trailheads as your starting point, not the official long segments. An out-and-back from accessible north and Nevada-side starting points, including the Brockway East access point, lets you choose your distance and turn around whenever needed.
For beginners, a 3-mile hike like Picnic Rock Vista is a far smarter first day than a 12-mile segment.
How long is the complete Tahoe Rim Trail loop?
The Tahoe Rim Trail Association lists the full route at 165 miles. You’ll sometimes see different totals in hiking guides because mapped mileage and route details can vary.
For day hiking, the full number is mostly helpful for perspective. You only need a small, scenic slice of it.
Does the Tahoe Rim Trail overlap with the Pacific Crest Trail?
Yes, parts of the Tahoe Rim Trail share corridor management with the Pacific Crest Trail, especially around the shared wilderness corridor. Pay attention at junctions, follow your downloaded route, and don’t assume every signed trail is heading where you want to go.
Where are the dry sections of the Tahoe Rim Trail?
Don’t count on water simply because you’re hiking near Lake Tahoe. The east side deserves extra planning, and seasonal water sources can change quickly or become unreliable. Carry adequate water from the trailhead and use current official mapping to confirm conditions.
Do I need a permit for a Tahoe Rim Trail day hike?
Only the Desolation Wilderness section requires a day-use permit, which is free and self-issued at entry trailheads. Access areas such as Echo Lakes and Big Meadow may have separate day-use requirements, so check before you go. Day-use rules and overnight permits are different.
Other sections may have different parking, pet, bike, or fire rules. Verify current requirements before leaving home.
What should I know about parking and bathrooms?
Parking capacity, fees, bathroom availability, and road access vary by access point and can change seasonally. Some areas have limited parking or seasonal facilities, so check current official information for your chosen starting point before you go.