Mount Rainier is 369 square miles of mountain, river, and old-growth forest with five distinct entrance areas, and they’re not all open on the same day. The Mount Rainier map looks busy, but the first job is just picking which corner of the park to visit. Get that right and most of the planning falls into place.
Two important current items: the Carbon River and Mowich Lake area is no longer accessible by vehicle, bike, or foot via the standard route (the SR 165 / Fairfax Bridge is permanently closed). And large parts of the Ohanapecosh area are closed for rehab through late 2026. Both areas show up on older guides as casual first-visit options; they aren’t, at least not in 2026.
Before you go
- Entrance fee: $30 per vehicle for a 7-day pass. The park is cashless
- Timed-entry reservations: NOT required for 2026 (the 2024 and 2025 pilot has been dropped for now)
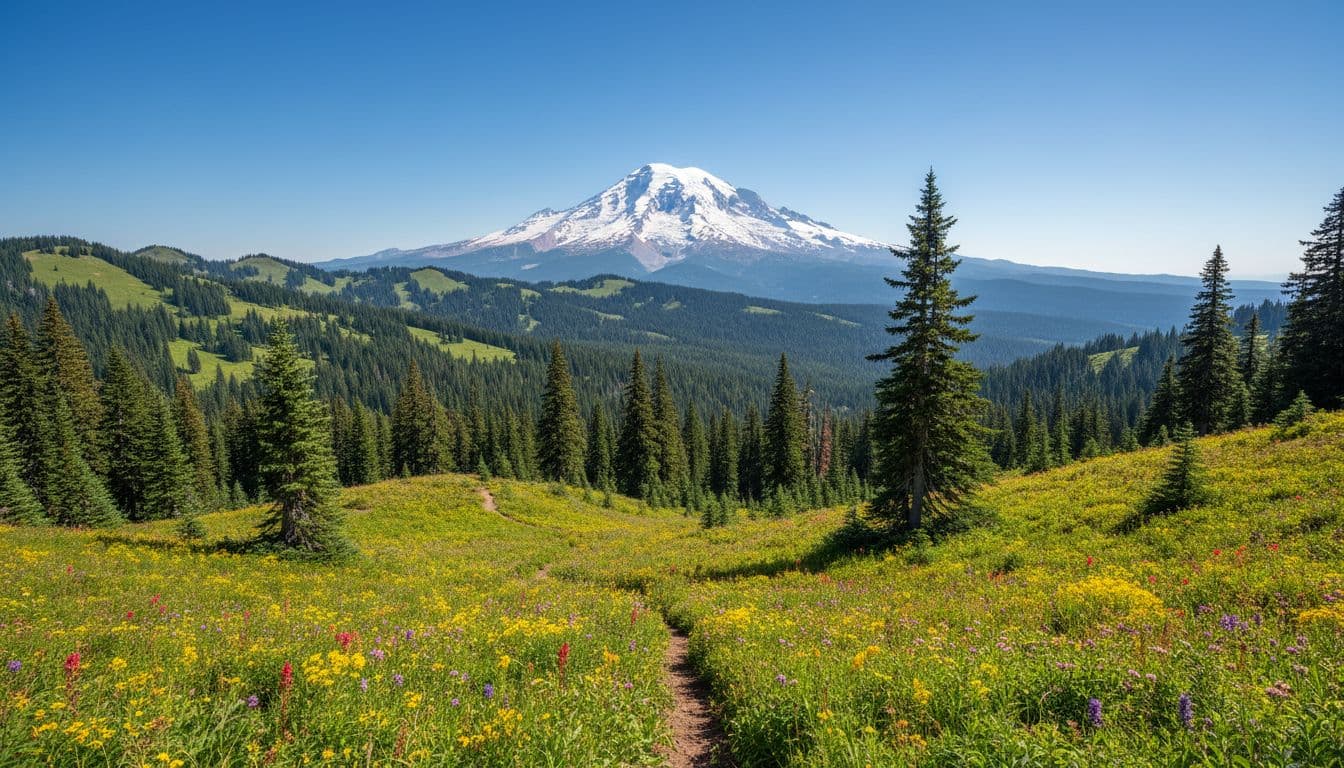
- Mount Rainier elevation: 14,410 feet, an active volcano with 25 named glaciers
- Cell service: limited to nonexistent. Download maps before you leave
- The park has five named areas: Paradise, Sunrise, Longmire, Ohanapecosh, and Carbon River/Mowich Lake
Current closures (2026)
- Carbon River and Mowich Lake — the SR 165 / Fairfax Bridge is permanently closed (WSDOT, April 2025). There is no vehicle, bike, or foot access on the standard route. The only way in is the backcountry Wonderland Trail, which is a multi-day commitment. Don’t plan a first visit here
- Ohanapecosh Campground and Visitor Center — closed for rehabilitation through November 2026
- Grove of the Patriarchs Trail — closed since November 2021 from flood damage to the suspension bridge. Replacement construction begins summer 2027
- Sunrise Road — seasonal, typically open late June or early July through late September
- Stevens Canyon Road (connects Paradise to Ohanapecosh) — seasonal, usually open Memorial Day through October
The park’s main areas at a glance
| Area | Elevation | Best for | Status |
|---|---|---|---|
| Paradise | ~5,400 ft | First-time visitors; wildflowers, the Skyline Trail, the Jackson Visitor Center | Open year-round (Nisqually entrance + road) |
| Sunrise | ~6,400 ft | Highest road-accessible point in the park; bigger, drier, panoramic views | Seasonal: late June/early July to late September |
| Longmire | ~2,760 ft | History, the National Park Inn, lowland old-growth, easy walks | Open year-round |
| Ohanapecosh | ~1,914 ft | Old-growth forest, hot springs history | Mostly closed in 2026 (campground + VC); some trails accessible |
| Carbon River / Mowich Lake | ~1,800 to 4,929 ft | (Previously) quieter forest and lake access | Not accessible via SR 165 (permanent bridge closure) |
Paradise: the right first stop for most visitors
Paradise is the standard recommendation for a first visit, and the reason is simple: it’s open year-round, it sits at 5,400 feet for big views without a hike, and it’s the trailhead for the Skyline Trail, the iconic Paradise loop (5.5 mi RT, ~1,700 ft gain) that takes hikers up to Panorama Point and back. The Henry M. Jackson Visitor Center is the largest in the park, with exhibits, food service, and ranger information.
The Paradise area is 19 miles east of the Nisqually entrance on SR 706. It’s the most-visited and most-photographed area of the park. A few practical notes:
- Parking fills early in summer. On peak July and August weekends, the Paradise lot can be full by 9 or 10 am
- Wildflowers peak late July through mid-August (varies by snowpack)
- Skyline Trail can hold snow into mid-July
- The Nisqually entrance is the only park entrance open year-round
For a full day plan, see the Paradise one-day itinerary. For Paradise parking specifically, the Paradise parking strategy walks through arrival timing.
Sunrise: the higher, drier east side
Sunrise sits at 6,400 feet and is the highest point you can reach by car in the park. It opens later than Paradise (typically late June or early July) and closes earlier (late September). The drive in is via the White River entrance from the east, then up the steep Sunrise Road.
Sunrise has a different feel than Paradise: drier, more exposed, with bigger panoramas of Rainier’s east face and the Emmons Glacier (the largest glacier in the lower 48 by area). Key trails include the Sunrise Rim Loop and the longer Burroughs Mountain trails for big alpine views.
For a two-day visit, Paradise + Sunrise covers most of the park’s classic experiences. If you can only pick one and you’re visiting outside the Sunrise season window, go to Paradise.
Longmire and Ohanapecosh
Longmire is the historic district, with the National Park Inn (open year-round), a small museum, and the Trail of the Shadows interpretive loop. It’s a good warm-up stop on the way up to Paradise from the Nisqually entrance.
Ohanapecosh is the southeast corner, with old-growth forest along the Ohanapecosh River. As noted above, the campground and visitor center are closed in 2026 for rehab, and Grove of the Patriarchs trail remains closed from 2021 flood damage. The Silver Falls Loop (3 mi RT) is the main trail still accessible in this area for 2026.
Entrances and roads
- Nisqually (southwest) — main entrance, open year-round, leads to Longmire and Paradise via SR 706
- Stevens Canyon (south) — connects Paradise to Ohanapecosh; seasonal road (Memorial Day to October)
- Ohanapecosh (southeast) — open seasonally; reduced services in 2026 due to rehab work
- White River (northeast) — entrance to Sunrise; opens with Sunrise Road in late June/early July
- Carbon River / Mowich (northwest) — not accessible in 2026 due to SR 165 bridge closure
Plan your visit around the Nisqually + Paradise corridor for any day-of-the-year visit, and add the White River + Sunrise corridor in mid-summer if you have two days. Skip the northwest corner of the park for the foreseeable future.
Maps to download before you go
- The official NPS Mount Rainier brochure map (free PDF or paper at any visitor center)
- An offline trail map app (Gaia GPS, CalTopo, AllTrails Plus)
- The WSDOT pass report for SR 706 and SR 410 status in winter and shoulder season
Cell service is limited throughout the park. Pre-download the trails and roads you’ll need; don’t rely on Google Maps once you’re past the entrance.
Frequently asked questions
Do I need a timed-entry reservation for Mount Rainier in 2026?
No. The timed-entry pilot from 2024 and 2025 has been dropped for the 2026 season. A $30/vehicle entrance pass is all you need.
What area should first-time visitors prioritize?
Paradise. It’s open year-round, sits at 5,400 feet for big views, has the largest visitor center, and is the trailhead for the Skyline Trail. A two-day visit adds Sunrise for the higher, drier east-side perspective.
Can I visit Carbon River or Mowich Lake?
Not on a normal first visit. The SR 165 / Fairfax Bridge is permanently closed, which blocks all vehicle, bike, and foot access on the standard route. Backcountry access requires a long approach on the Wonderland Trail (about 19 miles from the Sunrise area).
Is Paradise better than Sunrise?
For a first visit, yes. Paradise is open year-round, easier to reach, and has the most visitor infrastructure. Sunrise is higher and more dramatic but only opens roughly July through September.
When does Sunrise Road open?
Sunrise Road typically opens late June or early July, depending on snowpack, and closes in late September. Check the NPS Mount Rainier page for the current year’s opening date.
Do I need a paper map?
It helps. The NPS brochure map is free at any visitor center and shows the park layout cleanly. Cell service is limited inside the park, so a paper map plus a pre-downloaded trail app is the safest combination.